Hey there! If you're in the machining world, you probably know how crucial spring steel collets are. As a spring steel collet supplier, I've seen firsthand how these little guys can make or break a machining operation. In this blog, I'm gonna walk you through the process of installing a spring steel collet. So, let's dive right in!
What Are Spring Steel Collets?
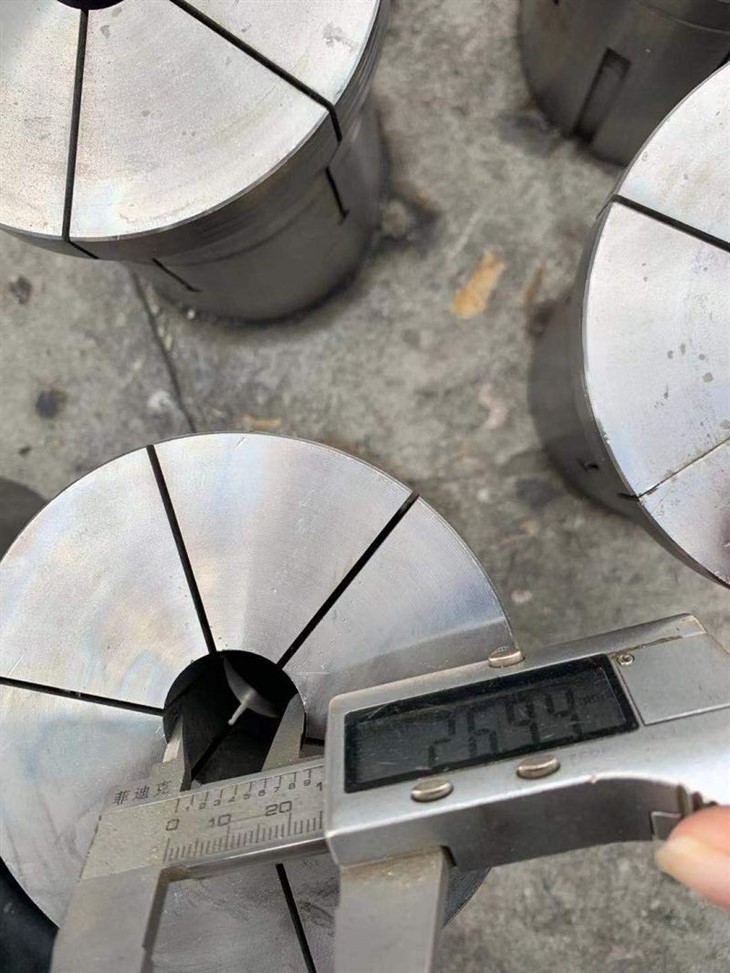
Before we get into the installation, let's quickly talk about what spring steel collets are. Spring steel collets are precision gripping tools used in machining operations. They come in different shapes and sizes, like the Hex Spring Steel Collet, Octagonal Spring Steel Collet, and Round Spring Steel Collet. These collets are made from high - quality spring steel, which gives them the flexibility and strength needed to hold workpieces securely during machining.
Tools You'll Need
First things first, you'll need to gather the necessary tools for the installation. Here's what you'll typically need:
- Wrenches: You'll need the right size wrenches to loosen and tighten the collet nut. Make sure they fit snugly to avoid any slippage.
- Cleaning Brush: A small cleaning brush is essential to clean the spindle and the collet before installation. This helps to remove any debris or dirt that could affect the collet's performance.
- Lubricant: A light lubricant can be used to ease the installation process and reduce friction between the collet and the spindle.
Pre - installation Checks
Before you start installing the collet, it's important to do some pre - installation checks.
- Inspect the Collet: Take a close look at the collet for any signs of damage, such as cracks or excessive wear. If you notice any issues, don't use the collet as it may not hold the workpiece securely.
- Clean the Spindle: Use the cleaning brush to clean the inside of the spindle. Remove any chips, dirt, or coolant residue. A clean spindle ensures a proper fit for the collet.
- Check the Collet Nut: Make sure the collet nut is in good condition. Check for any signs of damage or wear on the threads. If the nut is damaged, it may not tighten properly, leading to an unstable collet setup.
Step - by - Step Installation Process
Step 1: Loosen the Collet Nut
If there's an existing collet in the spindle, you'll need to loosen the collet nut first. Use the appropriate wrench to turn the nut counter - clockwise. Be careful not to apply too much force, as you don't want to damage the nut or the spindle threads.
Step 2: Remove the Old Collet
Once the collet nut is loose, carefully remove the old collet from the spindle. You may need to gently tap the collet with a soft - faced hammer if it's stuck. Make sure to hold the spindle firmly to prevent any movement.
Step 3: Lubricate the New Collet
Apply a thin layer of lubricant to the outside of the new collet. This will make it easier to insert the collet into the spindle and reduce friction during the tightening process.
Step 4: Insert the New Collet
Carefully insert the new collet into the spindle. Make sure it goes in straight and all the way to the bottom of the spindle. You may need to align the collet with the spindle keyway if there is one.
Step 5: Tighten the Collet Nut
Once the collet is in place, start tightening the collet nut. Use the wrench to turn the nut clockwise. As you tighten the nut, the collet will start to close around the workpiece. Tighten the nut until it's snug, but don't over - tighten it. Over - tightening can cause the collet to deform or damage the spindle threads.
Step 6: Test the Collet
After tightening the collet nut, test the collet by inserting a test workpiece. Make sure the collet holds the workpiece securely. Try to move the workpiece gently to check for any play. If the workpiece moves too easily, you may need to tighten the collet nut a bit more.
Tips for a Successful Installation
- Use the Right Size Collet: Make sure you're using the correct size collet for your workpiece. Using the wrong size can lead to poor gripping and inaccurate machining.
- Follow the Manufacturer's Instructions: Different collets may have specific installation instructions. Always refer to the manufacturer's manual for the best results.
- Keep the Work Area Clean: A clean work area reduces the risk of debris getting into the spindle or the collet, which can affect the collet's performance.
Troubleshooting Common Installation Issues
Collet Won't Insert Properly
If the collet won't insert properly into the spindle, it could be due to a dirty spindle or a misaligned collet. Clean the spindle again and make sure the collet is aligned correctly with the spindle keyway.
Collet Nut Won't Tighten
If the collet nut won't tighten, check the threads on the nut and the spindle. There may be debris or damage on the threads. Clean the threads or replace the nut if necessary.
Poor Workpiece Holding
If the collet doesn't hold the workpiece securely, it could be because the collet is worn out, not tightened enough, or the wrong size. Check the collet for wear, tighten the nut further, or use the correct size collet.
Conclusion
Installing a spring steel collet may seem like a tricky task, but with the right tools, some pre - installation checks, and a step - by - step approach, you can do it successfully. Remember, a properly installed collet is essential for accurate and efficient machining.
If you're in the market for high - quality spring steel collets, we've got you covered. As a spring steel collet supplier, we offer a wide range of collets, including the Hex Spring Steel Collet, Octagonal Spring Steel Collet, and Round Spring Steel Collet. If you have any questions or want to discuss your specific needs, feel free to reach out to us. We're here to help you find the perfect collet for your machining operations.

References
- Machining Handbook: A comprehensive guide to machining processes and tools.
- Spring Steel Collet Manufacturer's Manuals: These manuals provide detailed information about the specific collets and their installation procedures.